Bird House Gourds: Grow Your Own for Wrens and Purple Martins
October 22, 2025
Ever wanted to grow your own gourds to use for making Wren or Purple Martin bird houses or some other craft? Read on to learn how easy it can be.
Grow Your Own Birdhouse by Jackie Carroll
Bottle types (Lagenaria siceraria) are easy to grow on fences or trellises, and once dried they make an ideal home for purple martins, swallows, chickadees and wrens.
Although they can be grown in hills as you would grow squash and pumpkin, if left lying on the ground will they will flatten on one side and may be susceptible to rot.
If you prefer to grow them in hills, provide several inches of hay as a mulch to keep them off the ground.
Bottle types will tolerate light frost, so allow them to dry on the vine as long as possible.
The longer they stay on the vine the better the chance at not rotting. Once harvested, they will need a cool, dry place to finish drying, which may take several months.
During the drying time mold will grow on the outside. It's important to keep cleaning them off during this time.
They are completely dry when you can hear the seeds rattle inside when you shake them.
To fashion your birdhouse drill an entry hole 1-1/8 to 1-1/2 inches in diameter.
Smaller holes will accommodate small birds such as wrens, while a larger hole will allow larger birds such as martins to take up residence.
You should also drill a few tiny holes in the bottom for drainage. Drill two holes in the top, and thread a cord through them for hanging your birdhouse.
Untreated birdhouses will last up to two years. For a longer lasting birdhouse add a coat of varnish.
These Simple Steps Will Guide You Into Turning Your Gourds Into Birdhouses.
10 Quick Steps to Growing Gourd Birdhouses
- Choose the right type of gourd: You'll want to select a gourd variety that is suitable for birdhouses. Some popular options include bottle gourds, dipper gourds, and birdhouse gourds.
- Start your seeds indoors: Gourd seeds should be started indoors 3-4 weeks before your last expected frost. Plant the seeds in biodegradable pots filled with a high-quality potting mix.
- Transplant seedlings: Once the seedlings have grown to about 3 inches tall and the danger of frost has passed, transplant them into a sunny spot with well-drained soil.
- Provide support: Gourd vines need support as they grow. You can use a trellis or a fence for this purpose.
- Water regularly: Gourds require consistent moisture to grow well. Water your plants deeply once a week, or more frequently during hot, dry weather.
- Harvest the gourds: Your gourds will be ready to harvest when they have turned brown and the stem has dried out. Cut the gourd off the vine, leaving a few inches of stem attached.
- Clean and dry the gourds: Use a soft brush to clean any dirt or debris off the gourds. Then, let them dry in a warm, dry place for several weeks.
- Cut the entrance hole: Once the gourds are dry, use a drill or a knife to cut a round entrance hole near the top of the gourd.
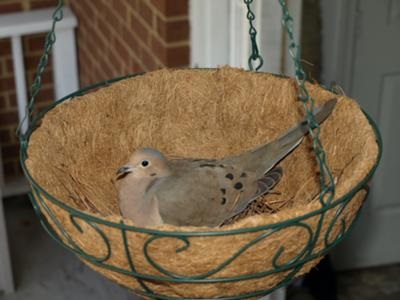
- Add a hanger: Use a strong wire or rope to create a hanger for the gourd. Make sure it is securely attached.
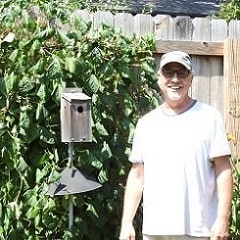
- Place the gourd birdhouse: Hang your gourd birdhouse in a sunny spot, at least 5-6 feet off the ground. Make sure it is protected from strong winds and predators.
About the Author:
Jackie Carroll, former editor at Garden Guides a leading destination for gardening information.

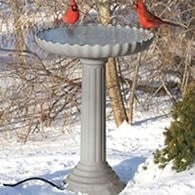
Add evergreen cover or place roosting boxes near feeders.
Birds will use them to escape wind and snow.
A simple way to help them survive harsh nights.

"What an awesome website. My little one and I enjoy playing the different bird calls and watching some of the videos — thank you!"
– Linda B., Illinois